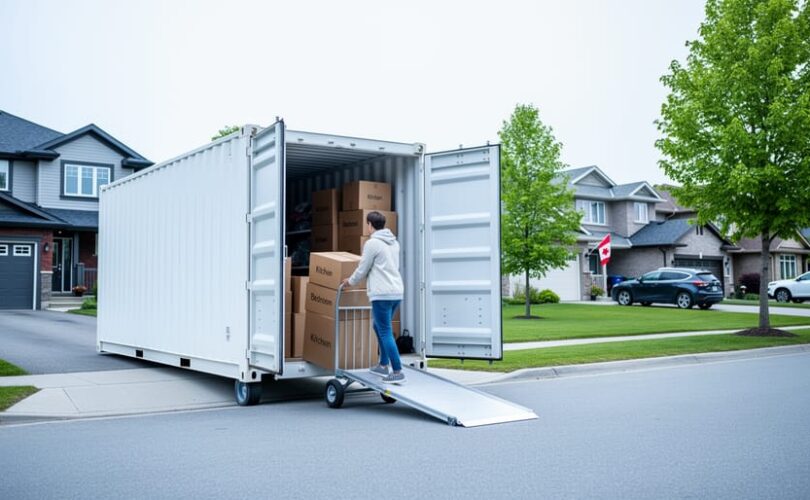
Long distance moving containers offer a cost-effective, flexible alternative to traditional full-service moves across Canada. With this method, a portable container is delivered to your home, you pack and load at your own pace, and a professional carrier transports it to your new address anywhere in the country. Services like U-Pack provide ReloCube containers or dedicated space in a 28-ft moving trailer, with rates that include equipment, fuel, delivery, transportation, and liability coverage, eliminating surprise fees that plague many moves.
This approach suits families and business owners seeking control over their moving timeline without the physical demands of driving a rental truck thousands of kilometers. You’ll handle packing and loading, while professionals manage the long-haul transport across provinces. The container remains secure and accessible at both locations for as long as you need, making it particularly valuable for staged moves or situations where your new home isn’t immediately ready.
For Ottawa homeowners planning interprovincial relocations, portable containers combine the affordability of a DIY move with the convenience of professional transport. This guide walks you through the complete process, from selecting the right container size and preparing your belongings, to loading strategically, tracking your shipment, and unloading at your destination. We’ll cover safety considerations, cost factors, and verification steps so you can confidently decide whether container moving fits your specific relocation needs.
What You Need Before Booking a Moving Container
Before contacting a container company, gather the information and materials that streamline the booking process and ensure a smooth move. Having these essentials ready helps you get accurate quotes and prevents delays once your container arrives.
Start by measuring the furniture and belongings you plan to move. This determines which container size fits your needs, whether you’ll require a compact ReloCube or need space in a 28-ft trailer. Take this opportunity to downsize before moving reducing both costs and loading effort. Create a detailed inventory list of items you’re transporting; this document becomes crucial for tracking belongings and supporting any insurance claims.
Assess your delivery locations carefully. Walk around both your current property and destination to confirm container placement. Note driveway width, overhead clearances like tree branches or power lines, and street accessibility. Check with your municipality about permit requirements for placing a container on the street or blocking a driveway temporarily.
- Measuring tape and room dimensions for space planning
- Quality packing supplies: sturdy boxes, bubble wrap, packing paper, and furniture pads
- Ratchet straps and tie-downs to secure items during transport
- Detailed inventory list with item descriptions and values
- Photos of delivery sites showing access points and clearances
- Timeline with your preferred loading and delivery dates
Container companies typically request your origin and destination addresses, preferred delivery windows, and an estimate of how much space you need. They’ll also ask about access restrictions at both locations. Providing accurate information upfront ensures you receive precise quotes that include all necessary services like equipment, transportation, fuel costs, and liability coverage.
Important Considerations and Limitations
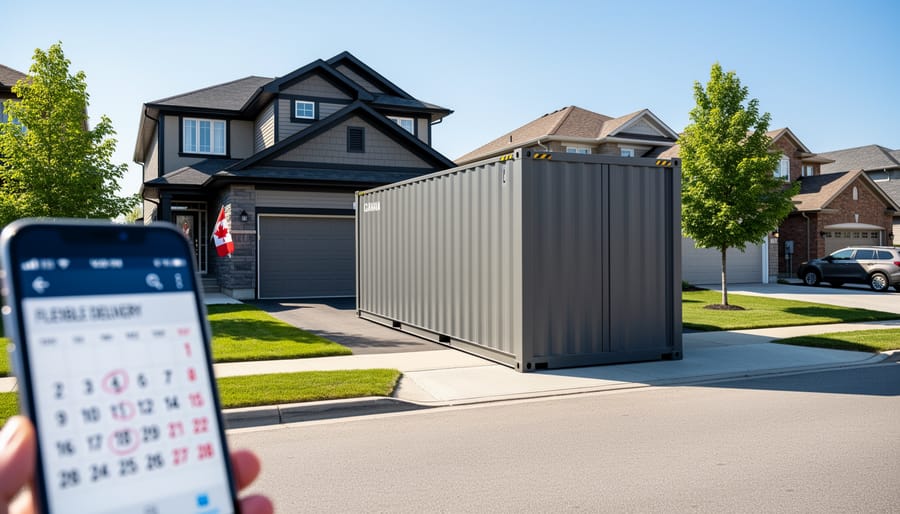
Before committing to a container move, understand the constraints that could derail your relocation. These limitations aren’t minor inconveniences, they can stop your move entirely or lead to unexpected costs and delays.
Delivery Site Accessibility
Container companies need clear, level access to drop off and pick up units. Your delivery location must accommodate a large truck (similar to a semi-trailer) with enough overhead clearance for loading equipment. Narrow streets, low-hanging power lines, steep driveways, or tight cul-de-sacs can make delivery impossible. Measure your driveway width and check for overhead obstructions before booking. Some municipalities require permits for containers placed on streets, adding time and fees to your move.
Weather and Timing Considerations
Canadian winters create specific challenges for long-distance container moves. Heavy snow can block access roads, and extreme cold affects certain items. Summer moves face different issues: heat-sensitive belongings need extra protection, and peak season can limit availability. Plan your room-by-room packing timeline around weather windows, especially if moving between provinces with different climate zones.
Prohibited Items and Provincial Regulations
You cannot ship hazardous materials, perishables, plants, or pets in moving containers. Flammable items (including some cleaning products and propane tanks), ammunition, and pressurized cans are strictly prohibited. Provincial regulations vary for items like alcohol transportation across borders. Always declare questionable items to your container company beforehand.
Insurance and Liability Coverage
Standard container service typically includes basic liability coverage for your belongings during transport. Providers like U-Pack include liability coverage in their rates, but this baseline protection may not cover the full replacement value of your possessions. Review what’s included carefully, coverage limits, exclusions for certain item types, and deductibles matter. High-value items, antiques, and electronics often require additional insurance purchased separately through your homeowner’s policy or a third-party moving insurance provider.
The Complete Container Moving Process
Step 1: Make Your Reservation and Choose Your Container
Start by researching container companies that service your specific route across Canada. U-Pack maintains service centers throughout the country and offers two main options: individual ReloCube containers or dedicated space in a 28-ft moving trailer. The ReloCube works well for smaller moves (typically one to three rooms), while trailer space suits larger households.
When requesting quotes, confirm exactly what’s included in the base price. Reputable companies like U-Pack bundle equipment, delivery, transportation, fuel costs, and liability coverage into their rates, which simplifies budgeting and avoids surprise charges later. Ask each provider to itemize their quote so you can compare apples to apples.
Before finalizing your reservation, verify that the company services both your departure city and your destination. Some providers have geographic limitations or require additional fees for rural delivery. Provide your exact addresses, not just city names, since accessibility affects pricing and feasibility.
Schedule your container delivery date based on your packing timeline and move-out requirements. Most companies offer flexible windows, but booking several weeks ahead, especially during peak moving season from May through September, ensures availability. Confirm how many days you’ll have access to the container at each end of the journey, as this varies by provider and impacts your packing schedule.
Review the reservation terms carefully, including cancellation policies, payment schedules, and what happens if you need to adjust your delivery dates after booking.
Step 2: Receive and Load Your Container
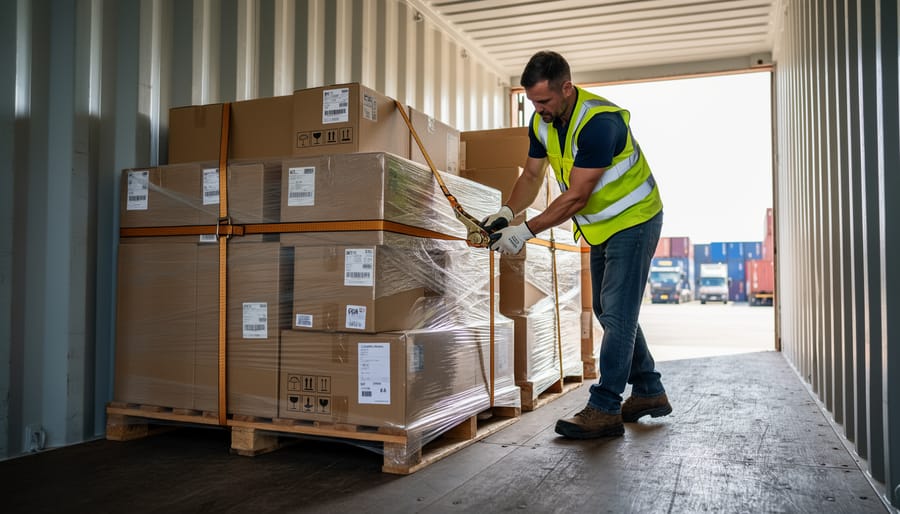
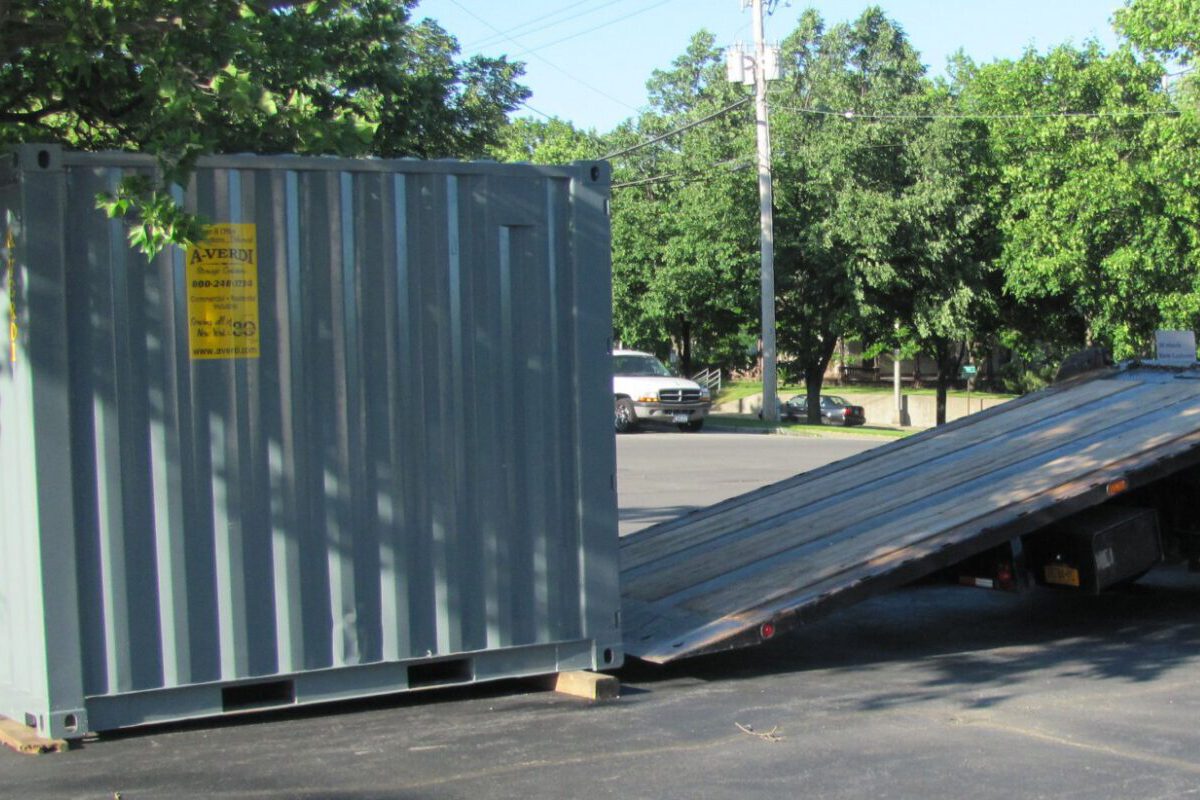
When your container arrives, the driver will place it on a level surface as close to your home as access permits. You’ll typically have three to five business days to load, though exact timeframes depend on your agreement with the company. Inspect the container immediately for any existing damage and note it on the delivery paperwork.
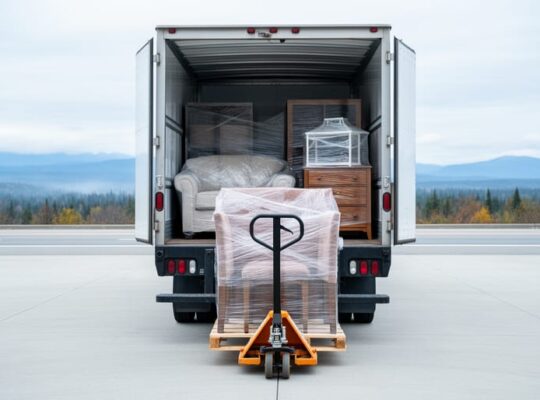
Loading efficiently for long-distance Canadian moves requires strategic thinking. Start by staging your packed boxes near the container entrance, organized by room or weight category. Heavy items like appliances and furniture go in first, positioned toward the front and distributed evenly across the floor to maintain balance during highway transport.
- Place the heaviest furniture and appliances along the floor, anchoring them against the walls to create a stable base.
- Fill gaps with medium-weight boxes, stacking heavier ones on the bottom and lighter ones toward the top.
- Secure everything with moving straps, ratchet tie-downs, or rope to prevent shifting during acceleration, braking, and turns on long highway stretches.
- Protect fragile items with blankets, padding, or eco-friendly alternatives like recycled paper or biodegradable packing peanuts.
- Leave an accessible path to reach items you might need first at your destination, typically near the container doors.
Consider using sustainable packing materials throughout your load. Recycled cardboard boxes, reusable plastic bins, and biodegradable cushioning reduce environmental impact while protecting your belongings. Ottawa’s Smart Move emphasizes eco-friendly practices in all relocation services, understanding that responsible moving benefits both customers and communities.
Before the company picks up your loaded container, walk through it one final time. Check that nothing blocks the doors, all items are secured, and fragile boxes are clearly marked. Take photos of your loaded container for your records. Lock it with your own padlock if provided that option, then notify the company you’re ready for pickup.
Step 3: Transportation and Tracking
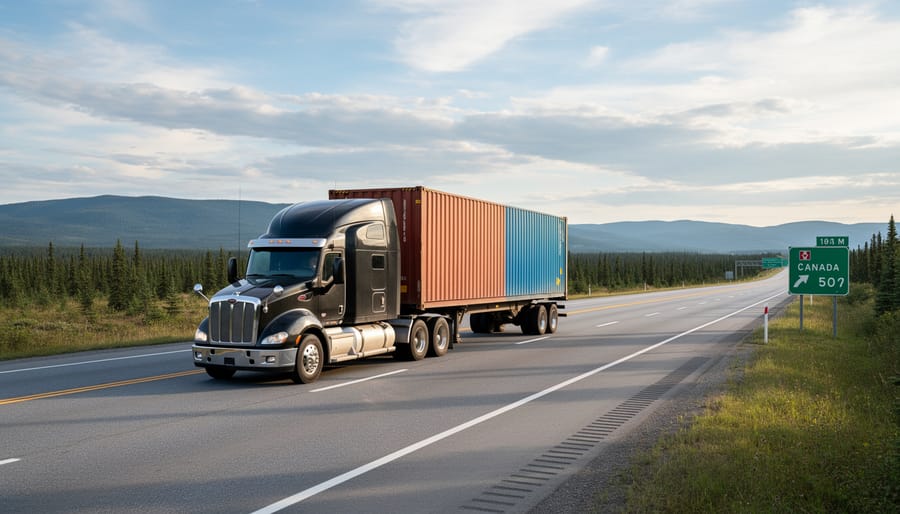
Once the container company picks up your loaded unit, the long-distance transportation phase begins. Your container travels by truck to your destination province, following established routes across Canada. The company handles all logistics, including route planning, driver coordination, and any necessary stops along the way.
What’s included in the transportation service is important to understand. With providers like U-Pack, the base price covers equipment use, delivery to your destination, the entire transportation process, and liability coverage. The cost of fuel is also included, eliminating surprise charges based on distance or fuel price fluctuations. This all-inclusive approach means you won’t face additional fees for the actual movement of your belongings across the country.
Tracking capabilities vary by provider. Some companies offer online tracking portals or updates via phone, while others provide estimated delivery windows without real-time location data. When you book, ask what tracking options are available and how you’ll receive updates during transit. At minimum, you should get confirmation when your container departs and an estimated arrival timeframe.
During transit, your belongings remain in the same container they were loaded into, reducing handling and potential damage. The container stays secured on the truck throughout the journey. Weather conditions, road closures, and seasonal factors can affect timing, particularly for moves covering thousands of kilometers across Canadian provinces. Build flexibility into your destination timeline to account for these variables.
Step 4: Delivery and Unloading at Your Destination
Coordinate with your container company at least a few days before your planned delivery date to confirm the exact arrival window. Most providers will give you advance notice, but weather conditions or cross-country logistics can shift schedules. Make sure someone is available at the destination to receive the container and that the delivery area remains clear of vehicles, snow, or obstructions.
Before the container arrives, prepare your new home for efficient unloading. Clear pathways from where the container will be placed to your entrance, protect floors if necessary, and have a plan for where items will go room by room. If you’re delivering to a location with access challenges, narrow driveways, tight streets, or strata requirements, address these ahead of time. Some urban or rural areas may require permits for container placement on streets.
You’ll typically have a set window to unload your belongings, often one to three days depending on your agreement. Work methodically through your inventory, checking items as you remove them. Unload heavier furniture first to access boxes stacked behind, and inspect belongings for any damage during transit. Document issues immediately with photos; this makes filing claims straightforward if needed.
Once you’ve emptied the container, schedule pickup with the company. Most allow you to arrange this by phone or online, and you’ll need to ensure the container is completely empty and accessible for retrieval. The company handles the final transport, completing your move. Keep your inventory list and any damage documentation until you’re fully settled and any claims are resolved.
Verifying Your Move Was Successful
Before the container leaves your property, conduct a final walkthrough to confirm everything you intended to move is loaded and secured. Once the container arrives at your destination, perform an immediate inspection while the driver is present if possible. Check high-value items first and compare what you unload against the inventory list you created before departure.
Document any visible damage with photos and notes right away. Most container companies require you to report claims within a specific window after delivery, often 24 to 72 hours, so don’t delay. Review the liability coverage terms you agreed to at booking, which typically covers basic protection during transport, and understand what your additional insurance (if purchased) includes.
Keep all paperwork from the container company, including your booking confirmation, inventory records, and delivery receipts. Contact the provider’s claims department immediately if you discover missing or damaged items, providing your documentation and photos as evidence. Coordinate the final container pickup once you’ve completely unloaded, confirming the scheduled removal time and ensuring the container is empty and accessible for the driver.
Key Benefits of Moving Containers for Long Distance Relocations
Container moving offers distinct advantages that make it an increasingly popular choice for cross-country relocations. Understanding these moving container benefits helps you determine whether this method aligns with your priorities and budget.
The most immediate benefit is cost transparency. When you receive a quote, you know exactly what you’ll pay, as companies include equipment, fuel, transportation, and liability coverage in their rates. There aren’t hidden fees that emerge on moving day or surprise charges for fuel surcharges. This predictability makes budgeting straightforward and eliminates the anxiety of escalating costs.
Timeline flexibility transforms the moving experience. You control when and how you pack, without coordinating with movers’ schedules or rushing to meet a single-day deadline. Load your container over several days or even weeks, fitting the work around your job, family commitments, and energy levels. This unhurried approach reduces stress and allows you to pack more carefully.
Reduced handling protects your belongings. Your items go into one container and stay there until delivery, unlike traditional moves where possessions transfer between trucks at warehouses. Fewer transfers mean fewer opportunities for damage, and you maintain control over how fragile items are secured.
The environmental advantage matters too. Efficient long-distance transportation in dedicated containers reduces fuel consumption per household compared to multiple smaller trips. This aligns with eco-conscious practices that Ottawa’s Smart Move champions in all relocation services, offering customers who value sustainability a greener moving option.
Finally, you gain peace of mind knowing your belongings remain in a secure, weather-resistant container throughout transit. You packed it, you know what’s inside, and nothing gets mixed with other shipments or handled by multiple crews. That direct control appeals to anyone moving valuable, sentimental, or irreplaceable items across Canada’s vast distances.
Common Questions About Long-Distance Container Moves in Canada
Common Questions About Long-Distance Container Moves in Canada
Container moving raises specific questions for Canadians planning interprovincial relocations. Here are answers to the concerns we hear most frequently.
How much do moving containers cost for long distances in Canada?
Pricing varies based on distance, container size, and timing, but quotes typically include equipment, fuel, transportation, and liability coverage in one comprehensive rate. Getting detailed quotes from multiple providers helps you compare what each includes and choose the right company for your budget and needs.
How long does container delivery take for cross-Canada moves?
Transit time depends on your origin and destination distance, the season, weather conditions, and the company’s routing schedule. Container companies can provide estimated windows when you book, but build flexibility into your timeline rather than planning around exact delivery dates.
What size container do I need for my move?
Companies like U-Pack offer options such as ReloCubes for smaller loads or space in 28-ft trailers for full households. Inventory your belongings room by room, then discuss your list with the provider to determine whether one container, multiple units, or shared trailer space makes the most sense.
Can moving containers reach rural or remote Canadian locations?
Service availability varies by company and region. Some providers serve major cities and highways primarily, while others extend to rural areas with advance notice. Check each company’s service map for your specific origin and destination postal codes before booking.
Container moving differs fundamentally from traditional full-service movers in control and labour. With containers, you handle packing and loading yourself, which requires physical effort but gives you complete control over how items are arranged and secured. Full-service movers do the heavy lifting, which saves time and strain but means less oversight of handling. The cost comparison depends on your specific route, timing, and how much help you need, making direct quotes the only reliable way to evaluate your options rather than relying on broad percentage claims.
Moving containers offer a practical solution for long-distance relocations across Canada when you want flexibility and hands-on control over your belongings. By following the complete process outlined in this guide, from initial reservation through final delivery and verification, you can manage your cross-country move efficiently while maintaining oversight every step of the way.
This approach works best for those comfortable with self-packing and willing to coordinate timing at both ends. Before committing, assess your specific situation: consider the physical demands of loading, your timeline flexibility, and whether your locations allow proper container access. Get detailed quotes from reputable providers that service your route to understand exactly what’s included.
Remember that professional assistance doesn’t have to be all-or-nothing. Ottawa’s Smart Move offers comprehensive moving services that can complement or replace container moves, whether you need help with just the packing, full-service relocation, or expert advice on the best approach for your circumstances. The right choice depends on balancing your budget, timeline, and personal capacity against the demands of a long-distance move.